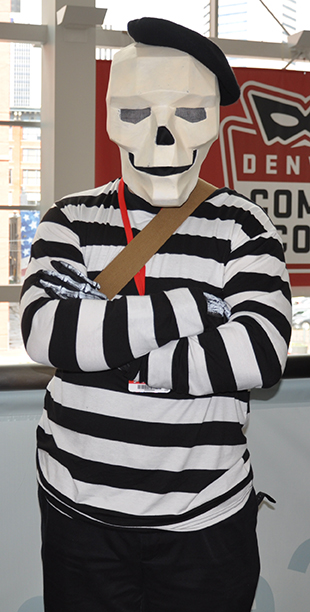
At this year’s Denver Comic Con, I spent one day cosplaying as Cadavre from Broodhollow. (If you don’t know what Broodhollow is, I’m not surprised. Exactly one person recognized the character. But if you like Lovecraftian horror and quirky fun characters, and really clever jokes you should
check it out.)
Anyway, this post is not about my almost creepy obsession with Broodhollow. This post is about how I built the mask that’s the heart and soul of the costume. (Warning: this post is really long.)
At first, I didn’t want to make a pepakura helmet. (Btw, pepakura is both a computer program for turning 3D models into instructions on how to make that shape out of folded cardstock, it’s a general term for anything built out of paper. All of this will make sense if you read on.) As obsessed as I was about reading build threads on the Replica Prop Forum, it all seemed too daunting. Besides, I didn’t need to take on yet another time-consuming and expensive hobby. But I’d already been doing paper-craft as a means of trying out my burgeoning interest in automata and kinetic sculptures. But I’d been distracted from that by more general woodworking projects, which had since been put on hold while I get into model making. During which I, for reasons that remain fuzzy, was also doing an online course in Introduction to Mathematical Thinking. You get the picture. I’m in the midst of a hobby storm. I did not need another project.
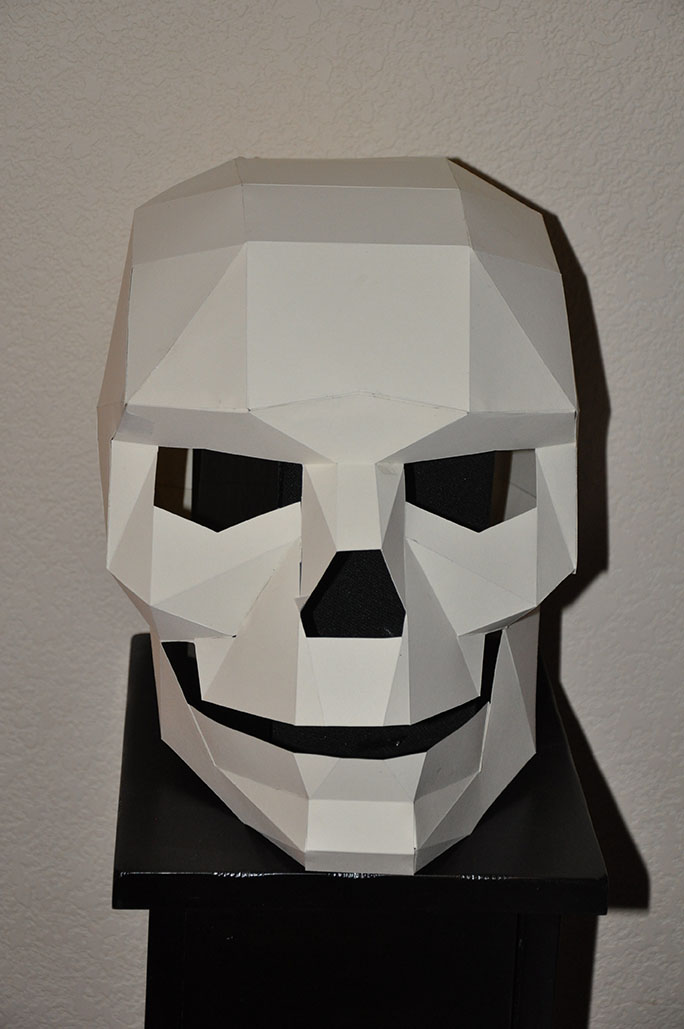
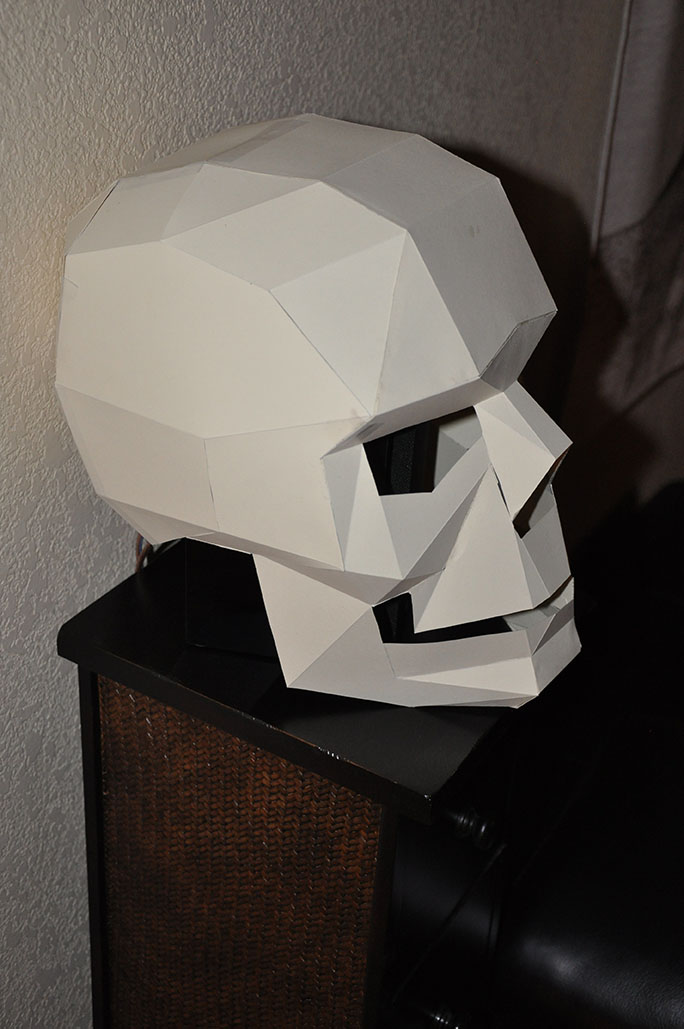
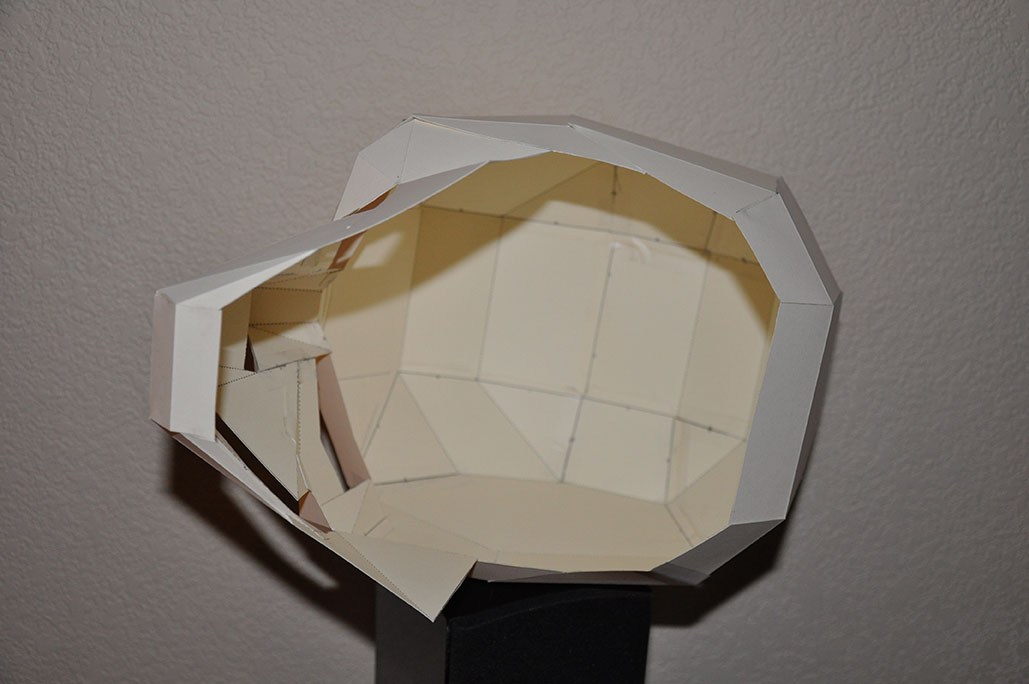
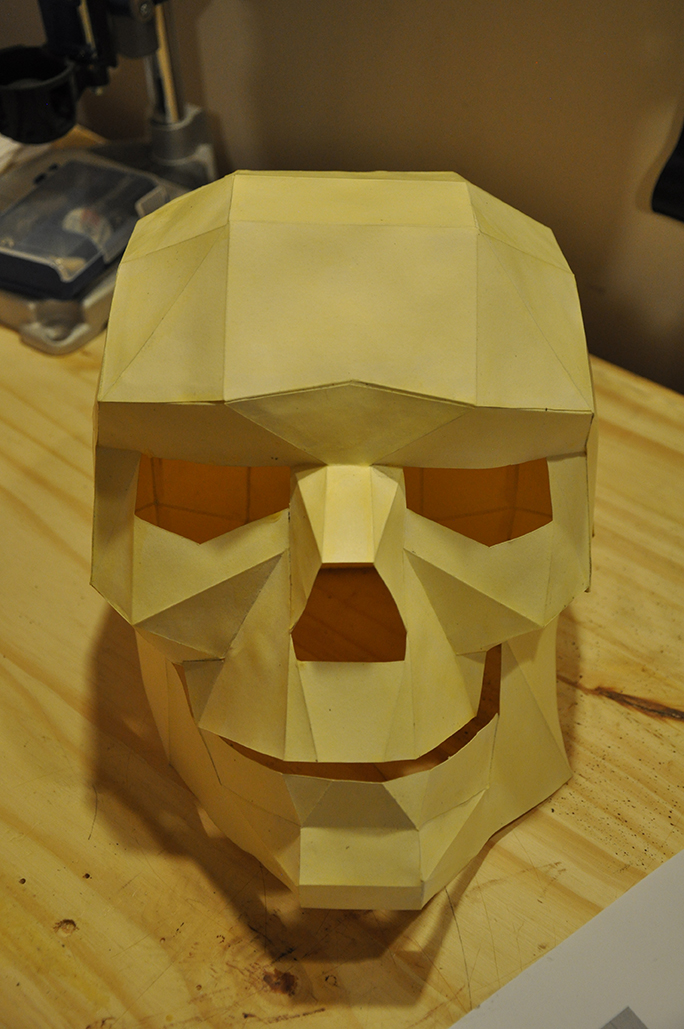
But then I ran across a cool looking paper craft skull on Etsy. And it only took about an hour to build it out of regular paper. And, hey, would you look at that, it fits on my head. So then I built another one out of cardstock. I naively bought a color that I thought would match the color of a skull. That was when I thought I could just strengthen the cardstock and wear it like that. If only it had been that easy.
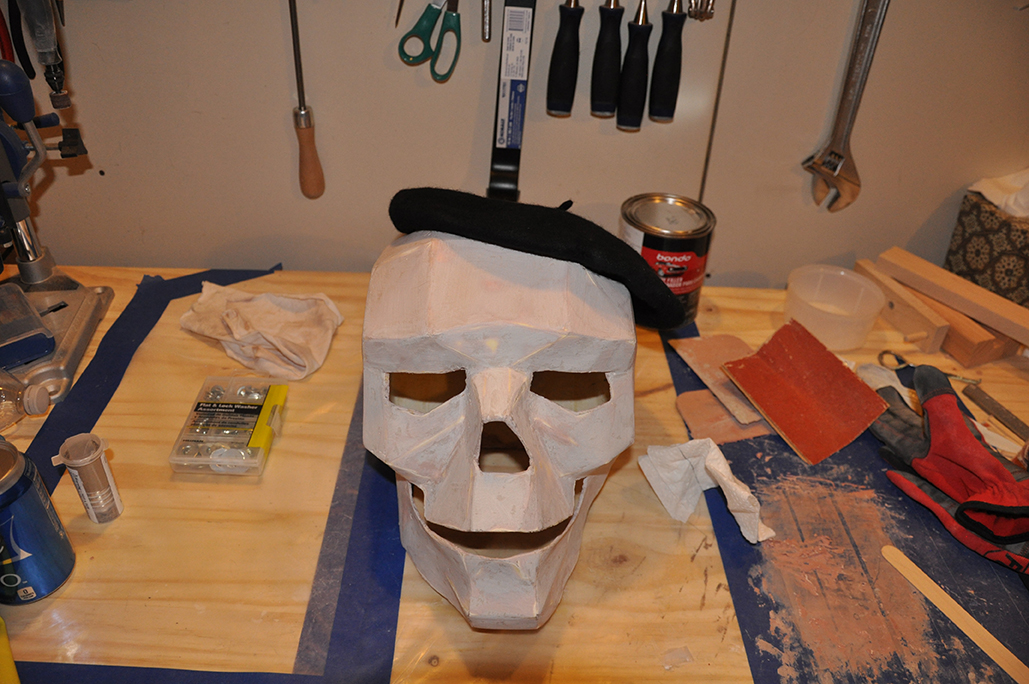
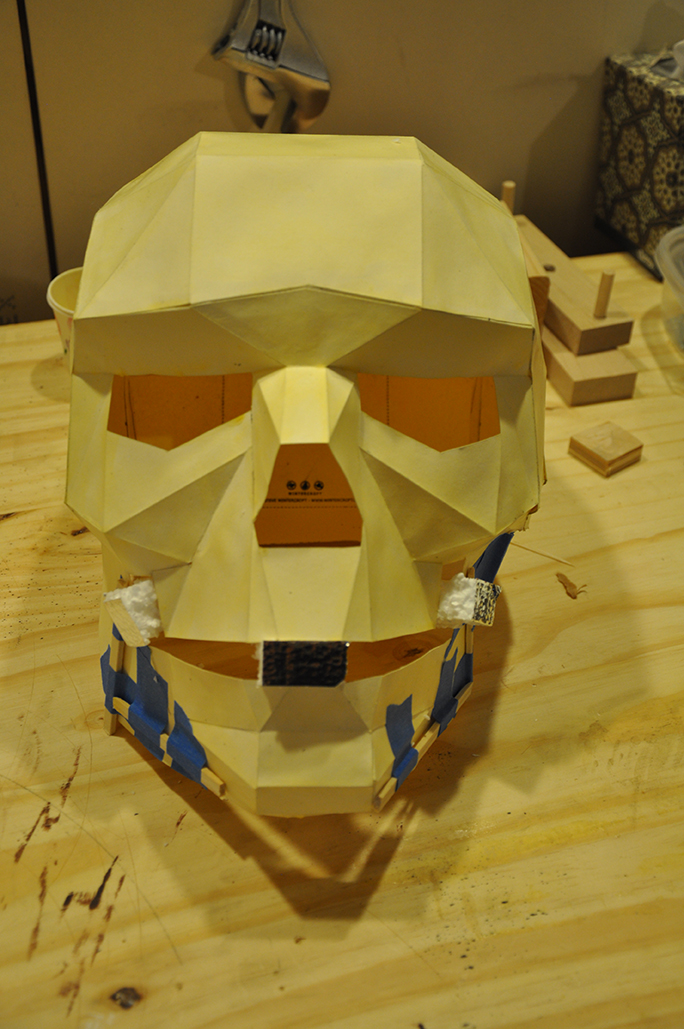
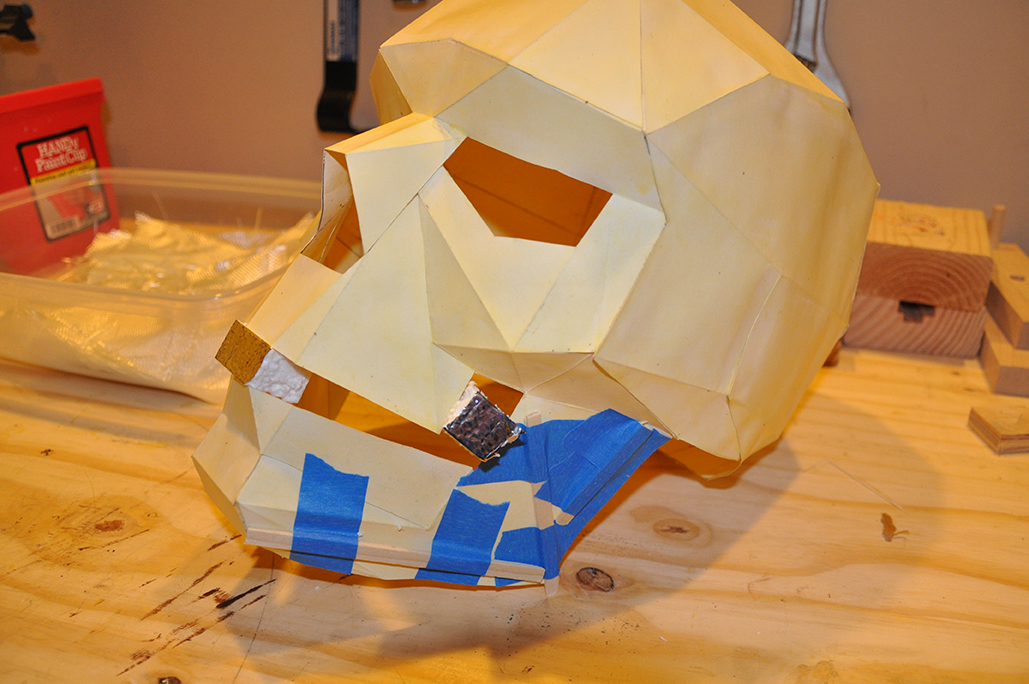
Here’s the cardstock skull. Just paper, glue and tape.
The traditional next step in a pepakura build would be to coat the cardstock with a couple of coats of polyester resin. But since I was taking the “let’s not buy too much stuff if we don’t have to” approach to this, I chose to eschew the resin, which is a bit expensive, and requires an expensive and clunky mask. Instead I used wood glue thinned with water. Knowing that adding all that water would soften the paper and make it prone to losing its shape, I tried to prop it up with a couple of pieces of cardboard. Which kind of worked, but not really. I still had a slightly lopsided shape, and the point of the jaw flared out wildly at one jaw. On the second through fourth coats, I used bits of foam jammed into the mouth, and thin strips of wood glued to the jaw to try to reshape it. It mostly worked, though the nose remains a bit off-kilter.
Next, I added fiberglass cloth to the inside of the skull. Again, traditionally, this would be done with more resin, but again, I chose to use wood glue. I know that if I ever do this again, I will use the resin for these steps. It’s not all that hard to work with. (Though my results with it were not good. See below for my tale of woe.) Either way, though, this step is pretty much guaranteed to be a sticky mess. You wipe down an area with wood glue thinned with water, then stick down a small swatch of fiberglass cloth, then stick it down with more glue. Cover the whole inside, let it dry for a day, then come back and add another layer. I honestly don’t remember if I did two or three coats of fiberglass. Whichever it was, it gave the mask plenty of strength. I wouldn’t try to stand on it or anything, but I have no fear of it collapsing under normal conditions.
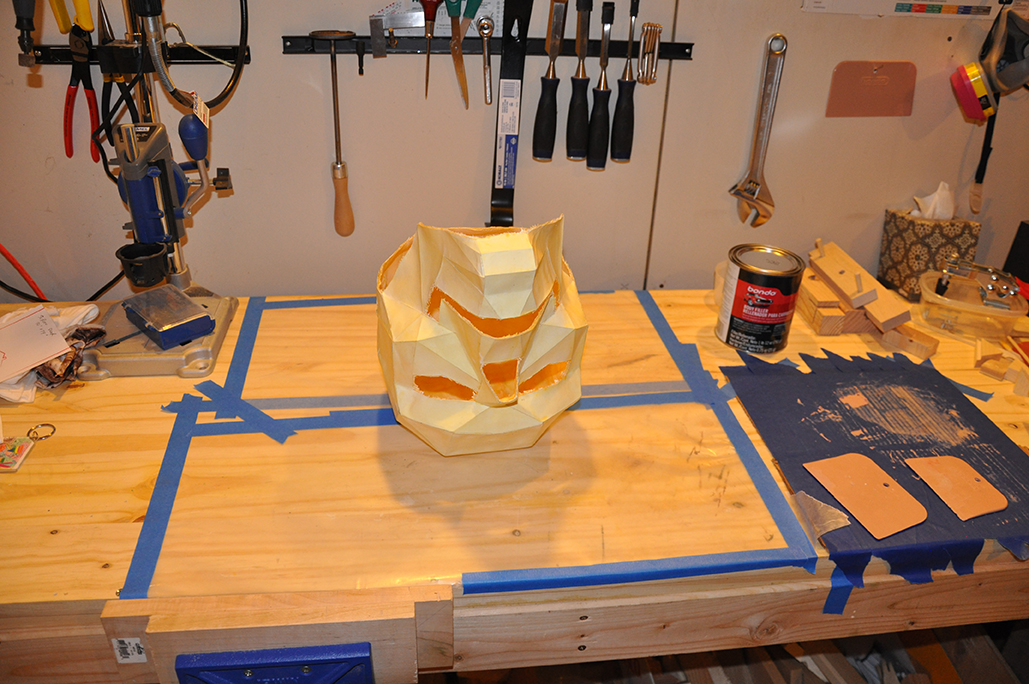
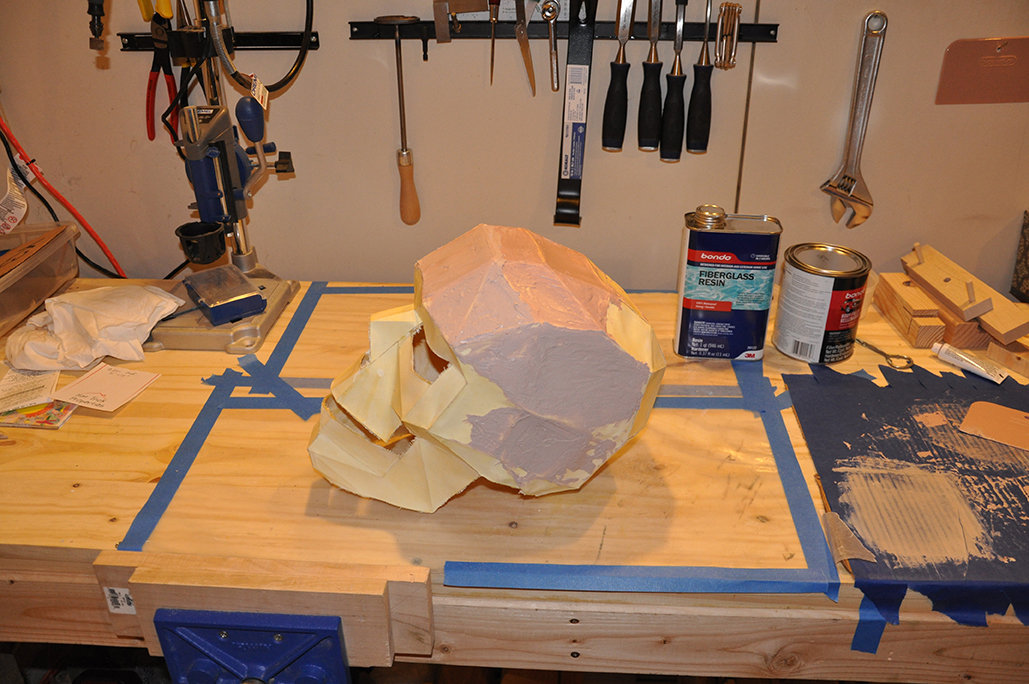
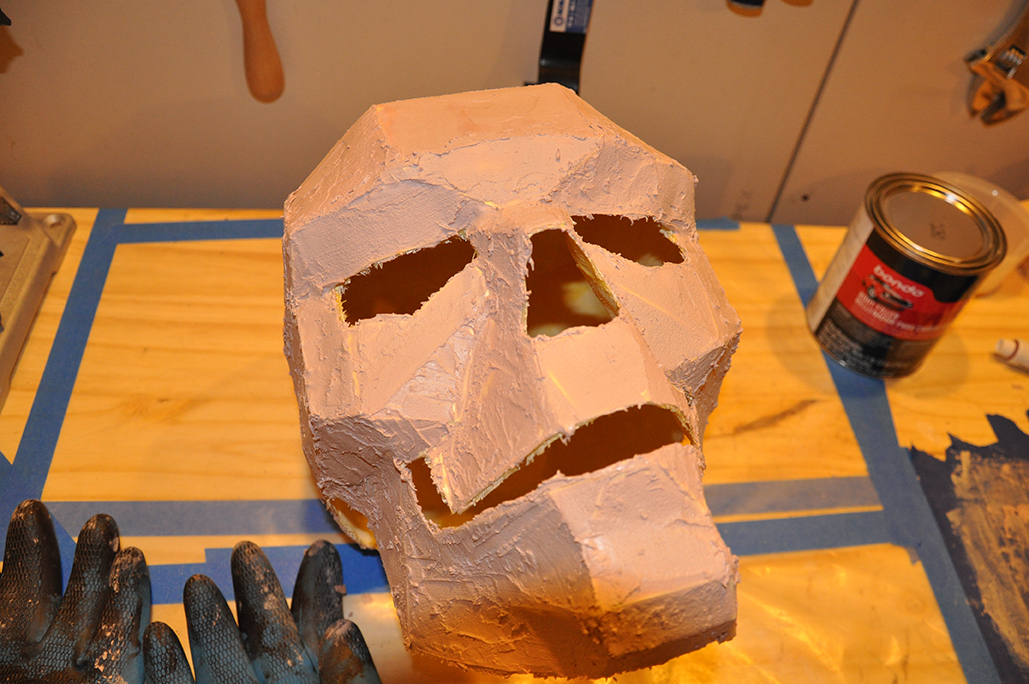
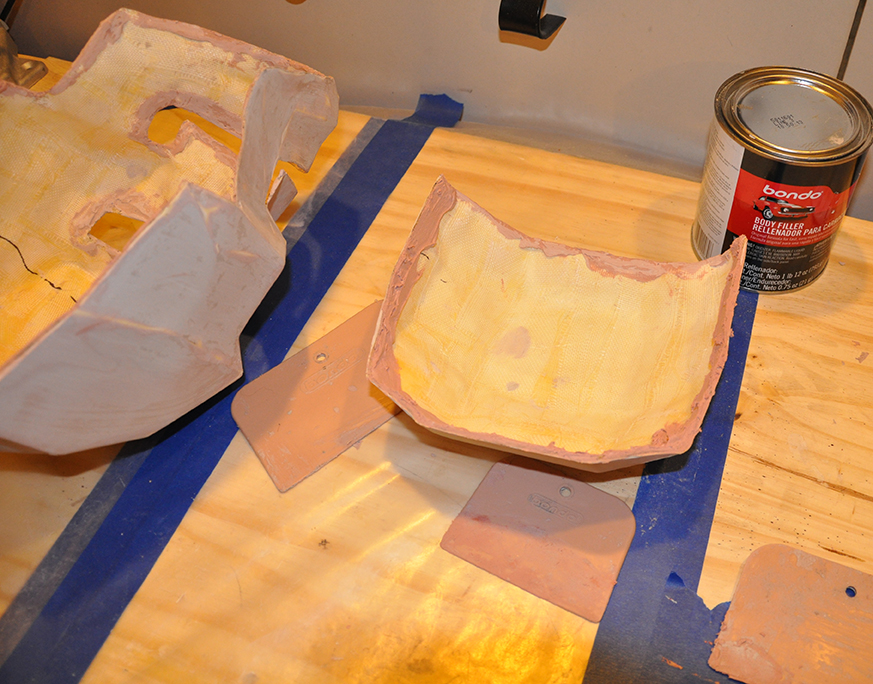
I also covered part of the workbench with wax paper, just to minimize the mess. I used a layer of blue painter’s tape directly on the workbench to mix the Bondo with its hardener paste. The little rubber spatulas are also made by Bondo. They’re cheap, and you know you have enough hardener when the Bondo matches the color of the spatula. Not that mine ever did. But the first coat cured well.
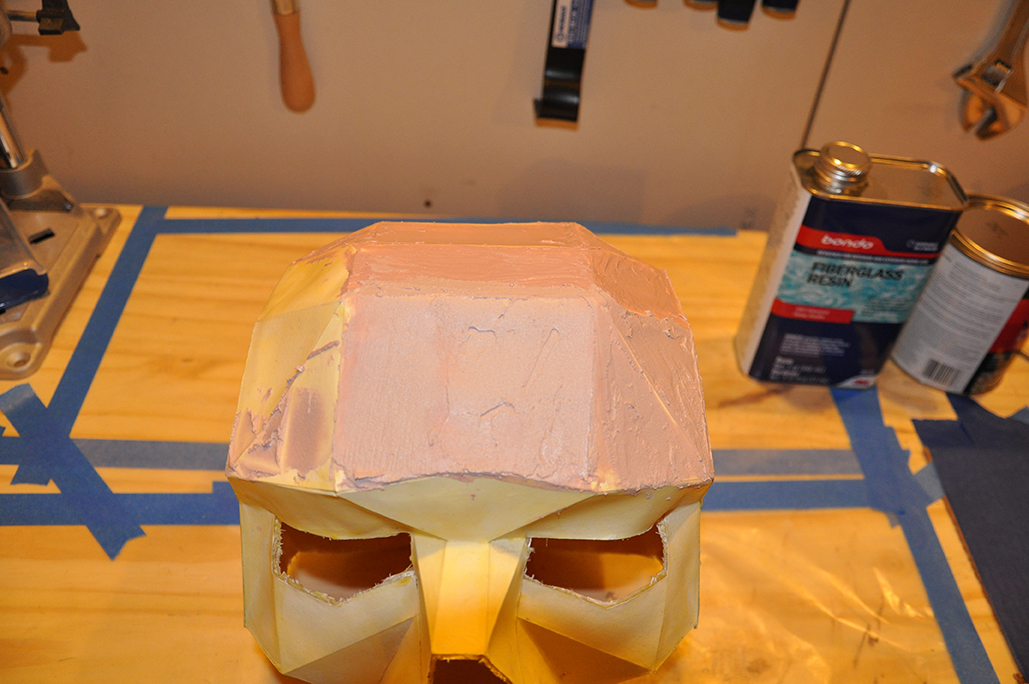
The first few patches I did went on pretty smoothly. Later, I got sloppier, figuring I was going too slowly and that I’d have to sand it all down later anyway. I long to be skilled enough to lay down a perfectly smooth surface in one pass, like I’ve seen on YouTube, but alas what you get instead resembles the surface of a lemon meringue pie.
One common theme I remember seeing in post after post online about how to do pepakura is how much sanding there is to be done. Heavens to Murgatroyd, so much sanding. This was only the the beginning, but already it seemed interminable. I spent a couple of hours sanding this first layer down. Oh how I wish I’d had my random orbital sander then. Bondo chews through sandpaper in a hurry, clogging it after only a few minutes. It’s a pain.
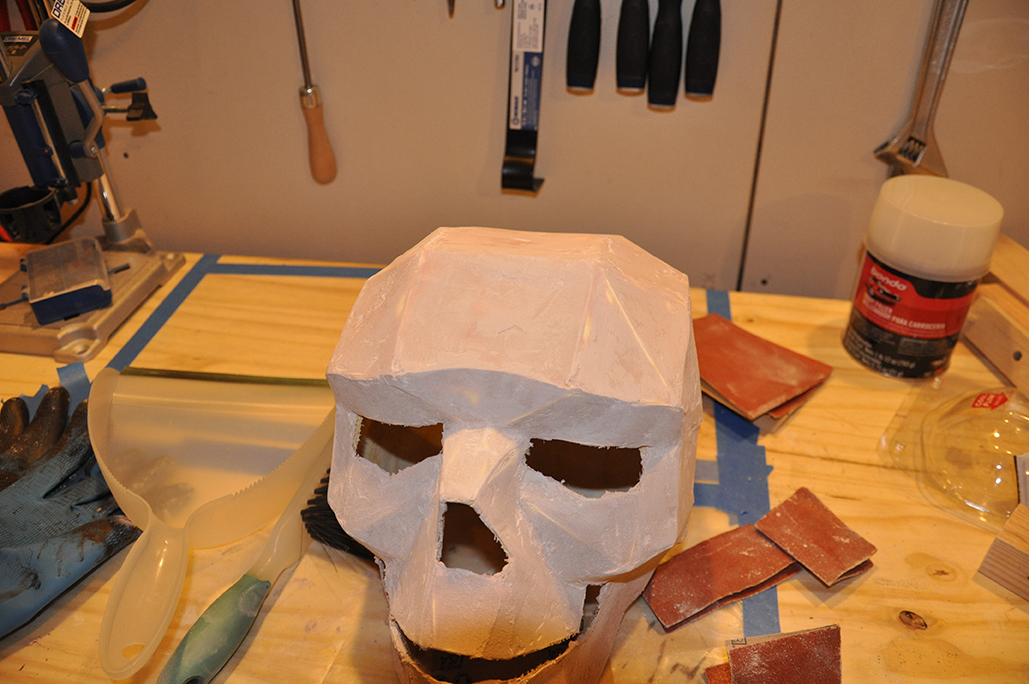
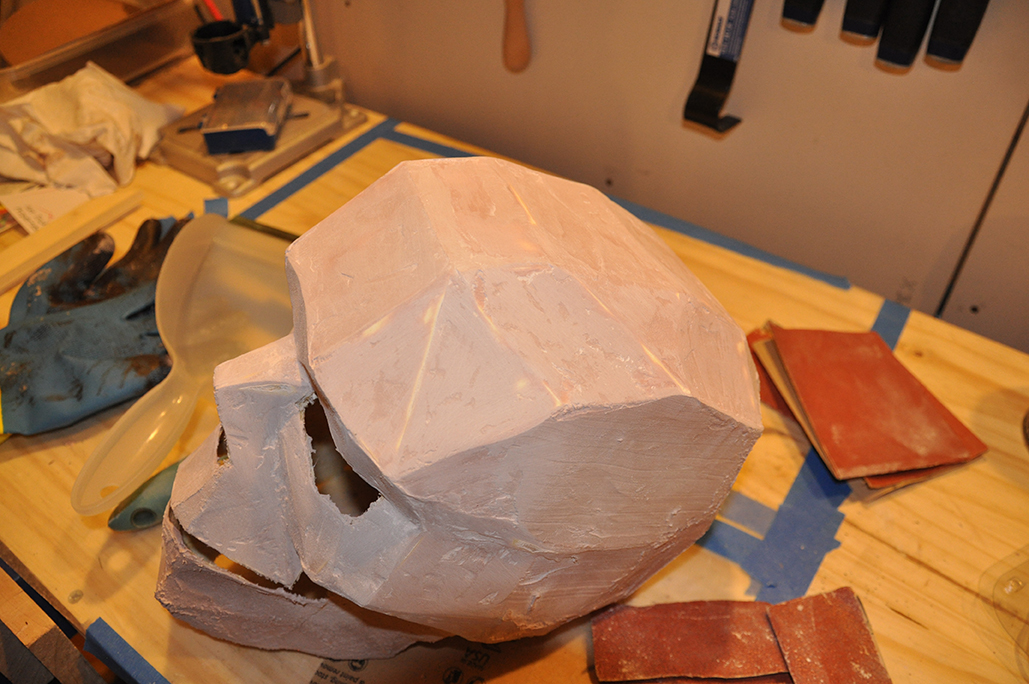
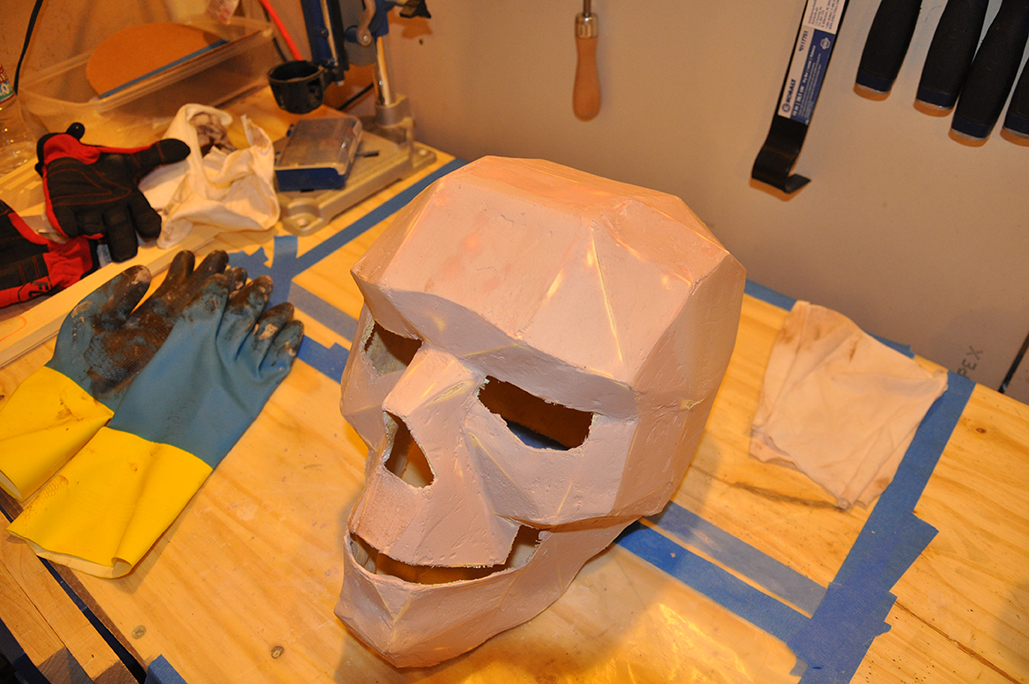
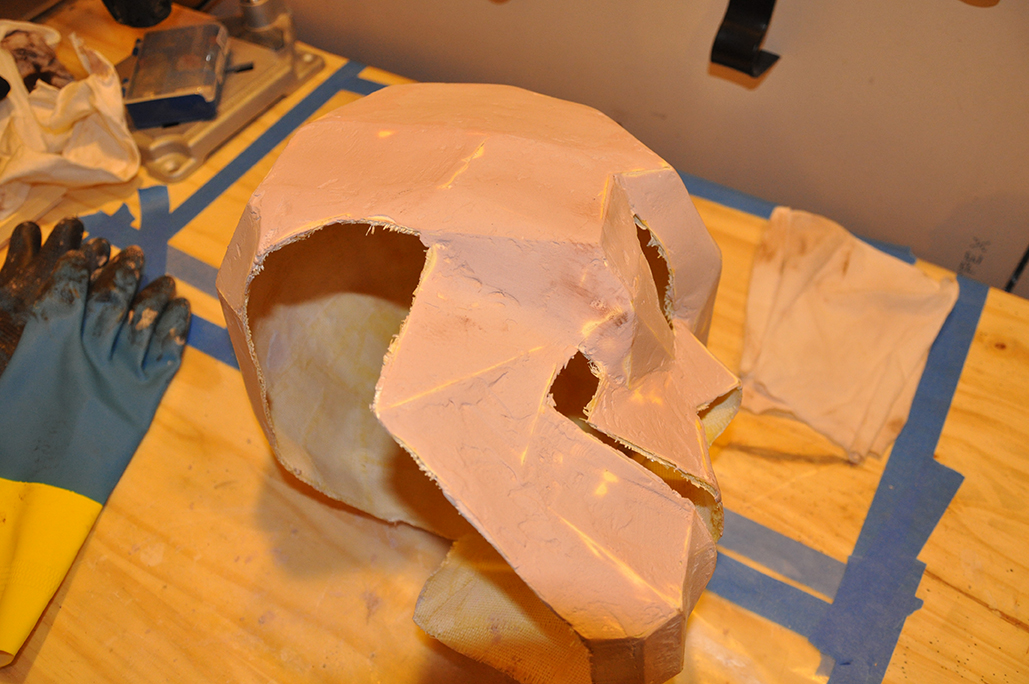

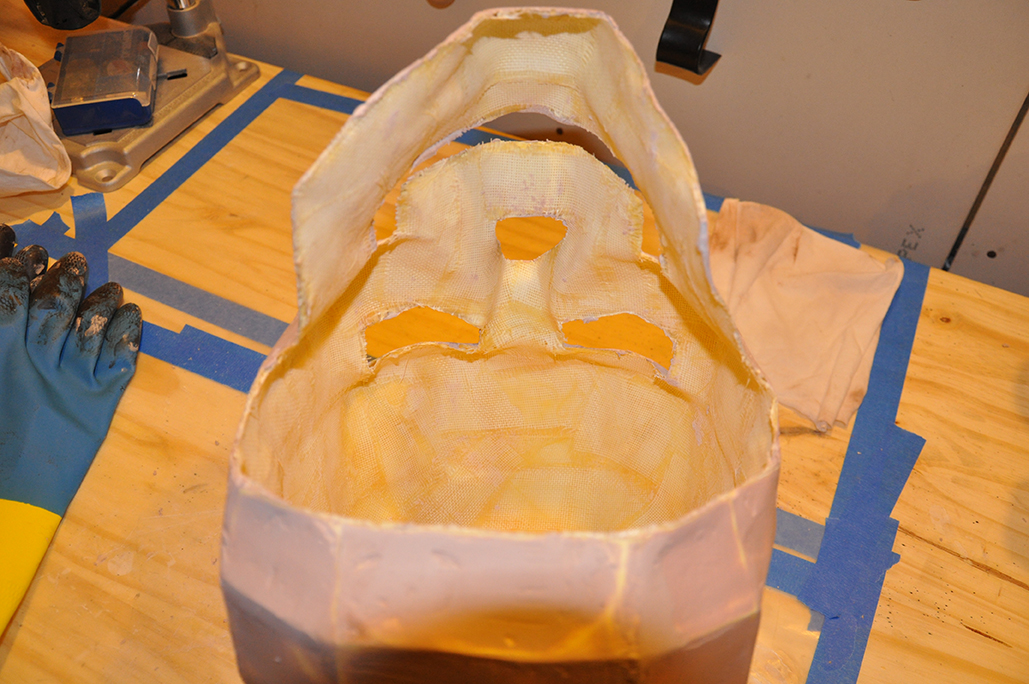
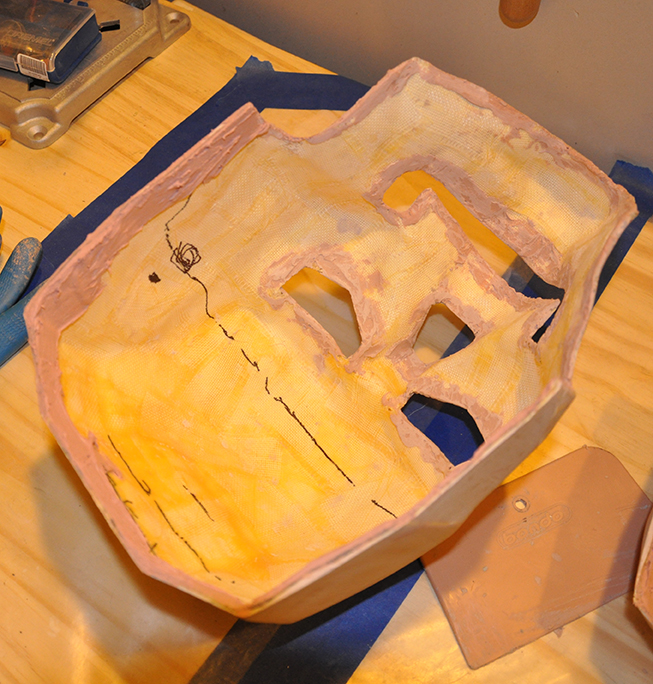
I came back and added a thin rim of bondo around the inside of all the holes in the mask, just to add some strength and give it a clean edge. Well, clean once I’d sanded it.
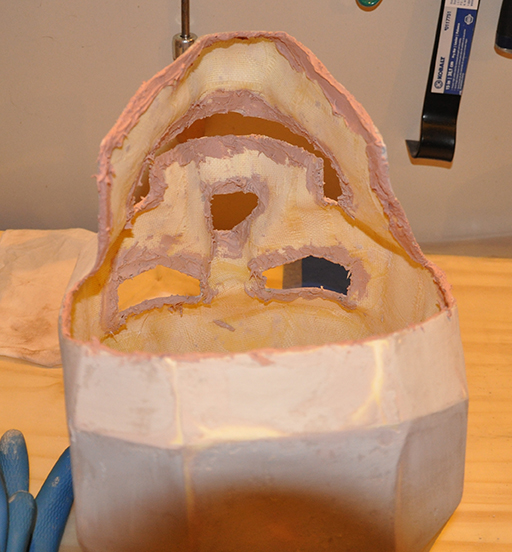
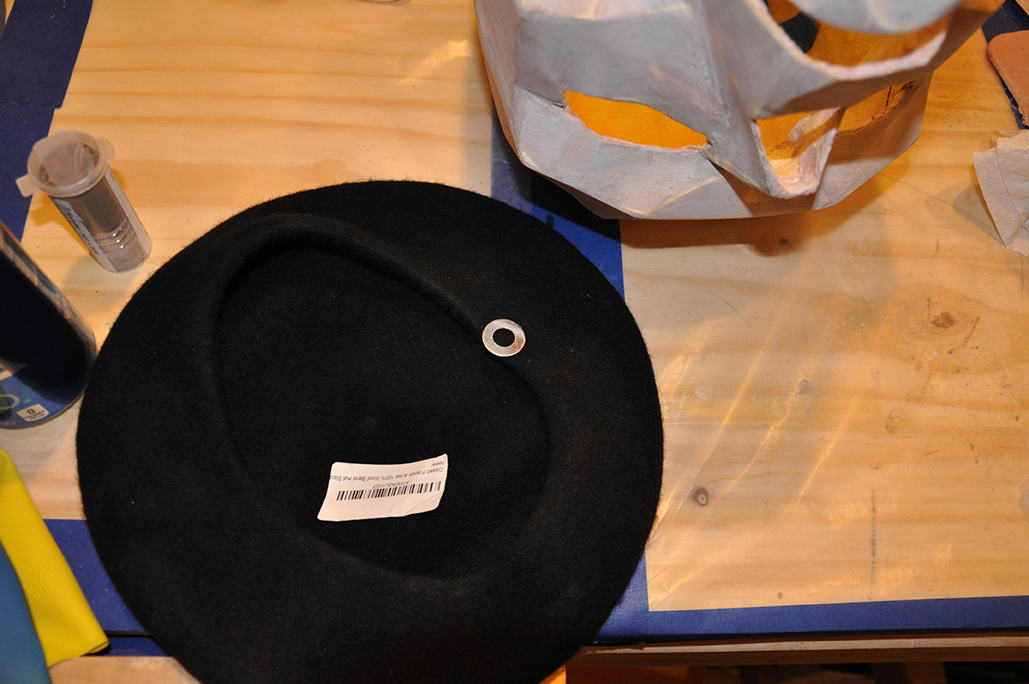
Next up was a bit of pre-planning for how to secure the beret, so it would stay on top of the mask while I’m wearing it, but no interfere with putting on or taking off the mask. I decided to do this with some rare earth magnets. By sewing some washers to the beret, and using epoxy to stick the magnets to the inside of the mask, I could just slap the beret on top, and feel confident it would stay in place. (Spoiler alert: it did exactly that. It never moved unless I moved it.)
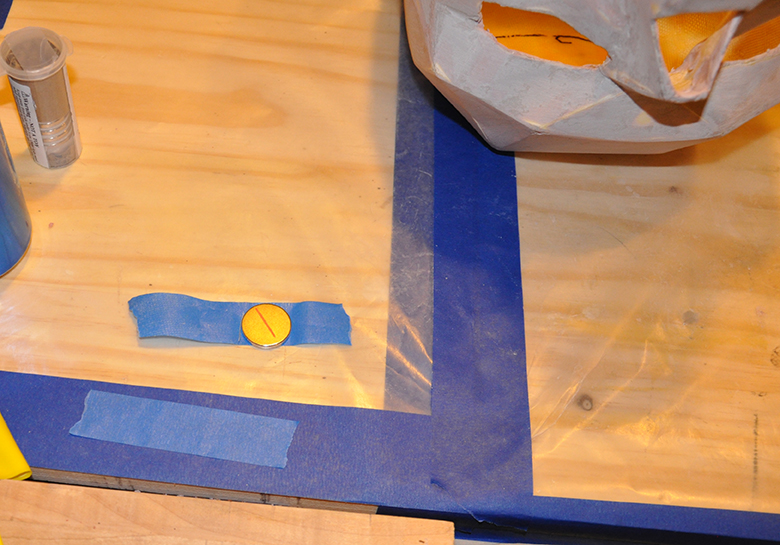
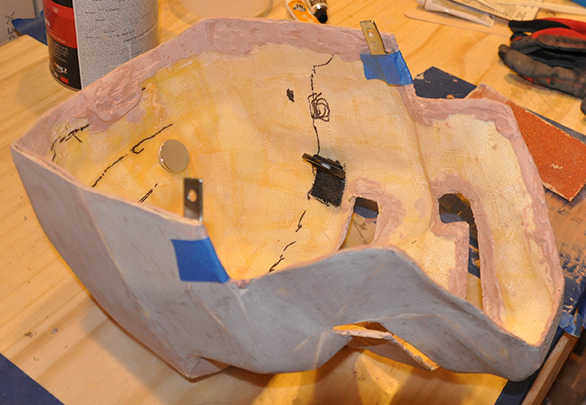
Showing the placement of the washer, and an initial strength test. The magnet easily held up the weight of the beret.
Here’s what the magnet looks like.
The next two moments of importance are sadly without corroborating photographic evidence. I’m not too surprised, though, as each of them was traumatizing in their own way, leaving me apparently forgetful of the camera.
The first event was the second layer of Bondo. Feeling confident after my first, relatively successful layer, head filled with new techniques gleaned from YouTube tutorials, and in full grips of the
Dunning Kruger Effect, I decided to thin out this coat of Bondo with some resin. The idea is to create a less viscous mixture that can be manipulated more easily. It’s called Rondo (ha! get it?) and it’s often used to “slush coat” the inside of a helmet. (A task I decided, probably wisely, to skip.) Anyway, my goal was to make a thinner, more easily spread mixture that would be easy to get smooth.
Instead what I got was a thin, too-gray mixture that spread easily, but never cured fully. Normally Bondo cures to a rock-hard, sandable consistency in only 20 minutes. This coat was rubbery and tacky after an entire day. After spending a couple of days in denial, I did the only thing I could do: sand the entire coat off and start over. I thought that sanding normal Bondo was difficult, but this stuff was much worse. It gummed up sandpaper at a startling rate. Sometimes I’d get fed up and attack it with a file instead. At one point, I tried scrubbing with a rag and some acetone. In the end it was just a lot of sanding. I spent an hour or two a night for about a week to get it off. I spent a lot of that time on the phone with my girlfriend, or listening to podcasts.
Once it was finally gone, I (again without photos) added a fresh coat of non-thinned Bondo to the whole skull, and sanded and sanded and sanded it until it was more or less smooth.
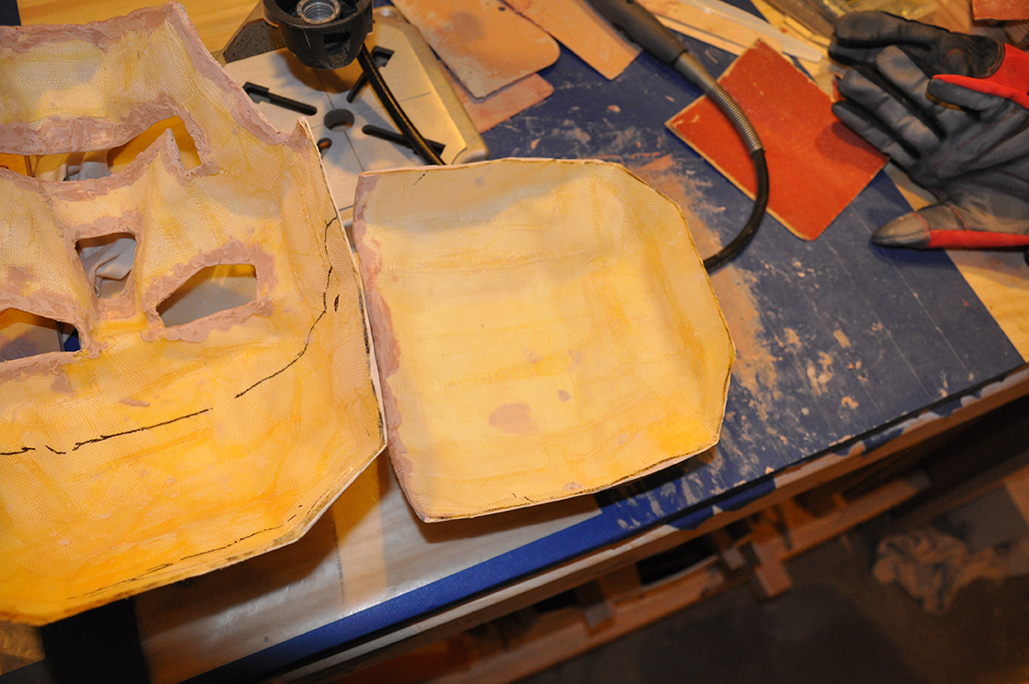
The next momentous event was much more successful, but much more nerve-wracking. It had become clear shortly after the fiberglass stage that the mask would no longer fit on my head. I mean, it would, if I could get my ears through the opening on the bottom, which I couldn’t. Meaning the only way to make the mask useable was to cut it in half. I had to create a hinge in the mask, so I could fit my big melon inside. I measured and planned, and looked up stuff on the internet, and stalled, and measured again, and stalled, and admitted to myself that no matter how many times I measured, I couldn’t be sure that it would actually fit on my head, and I stalled some more, and then finally I cut it in half. I used a disc cutter on my Dremel tool, which cut through the Bondo and fiberglass and glue with frightful ease. I got a couple of knicks in the edge, but otherwise it was a clean cut.
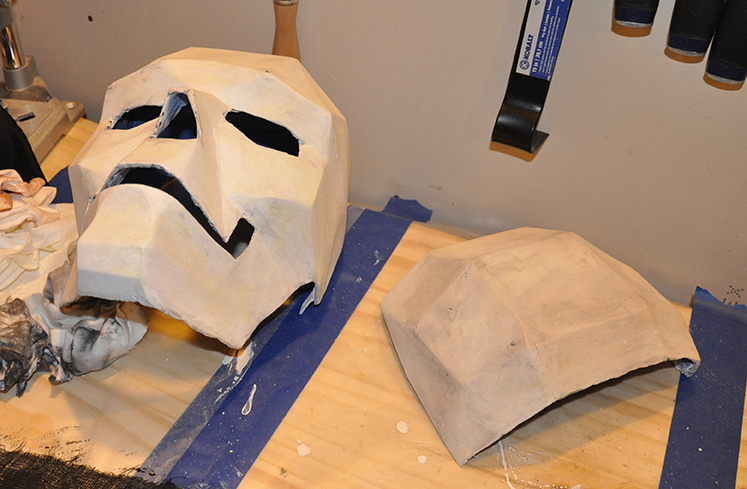
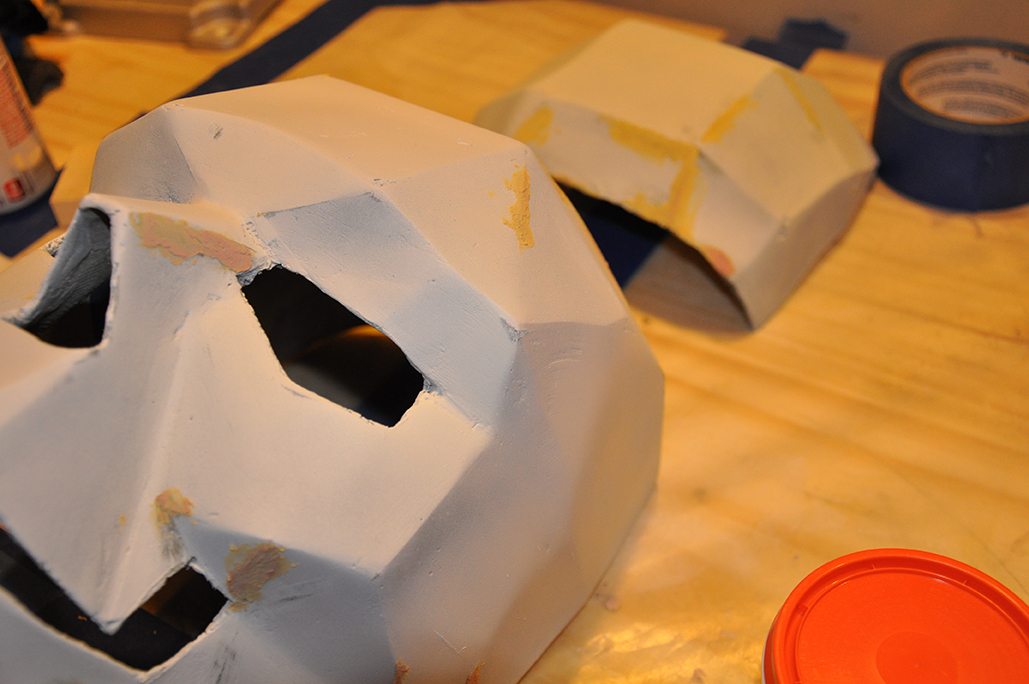
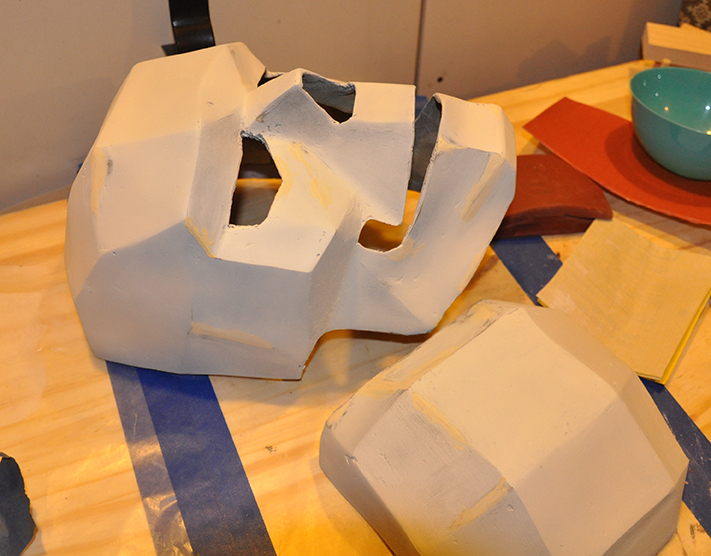
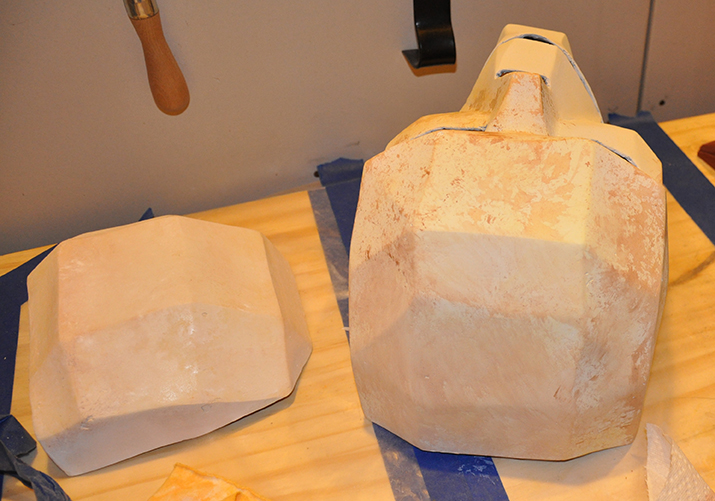
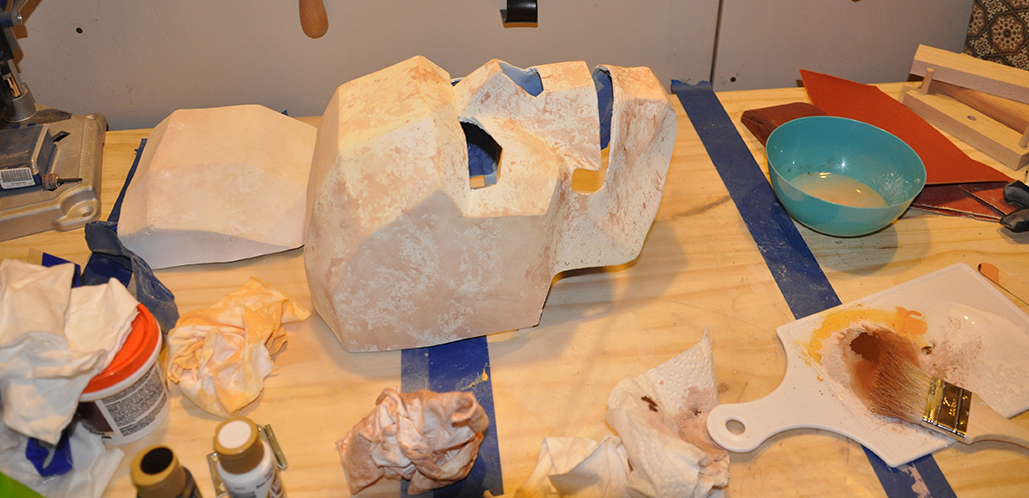
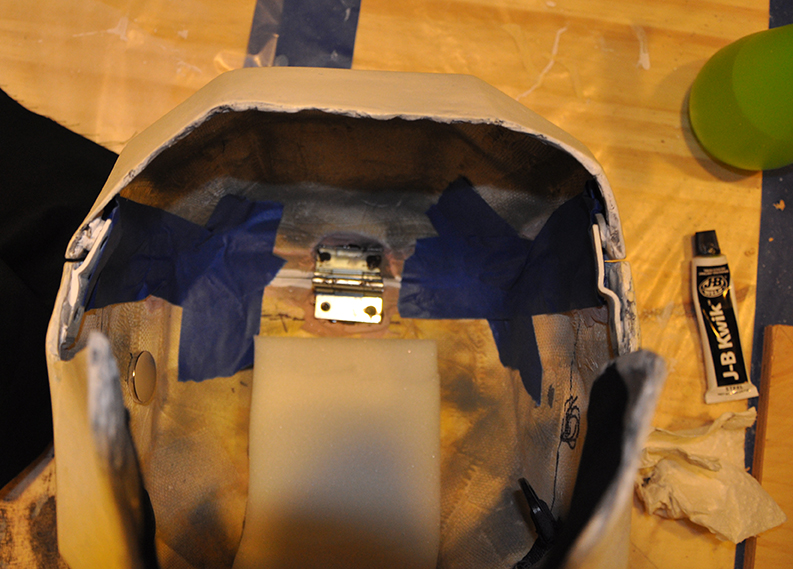
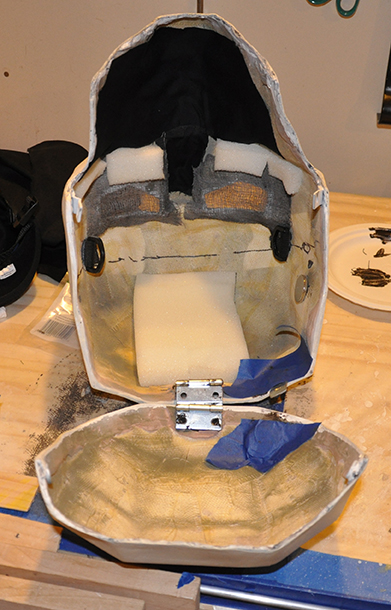
Here are some pictures of the two halves. I added more Bondo to the edges here, again for strength. I also built up a little platform to give me a nice surface to epoxy the hinge to.
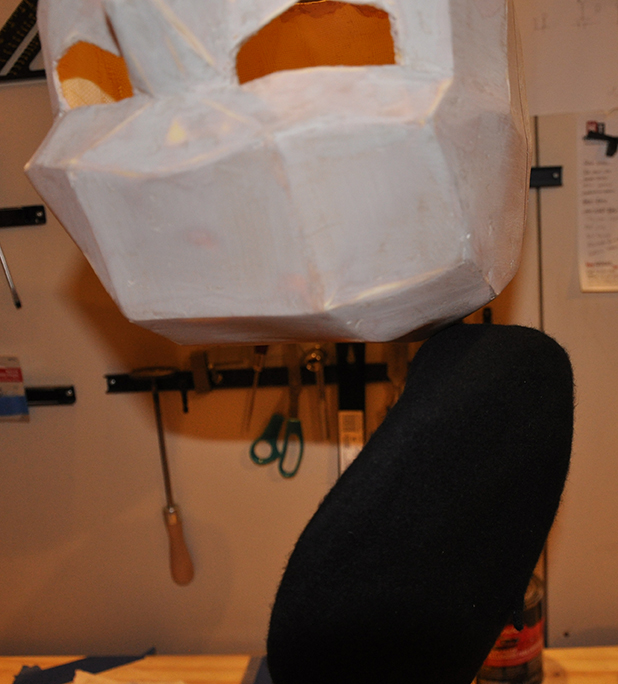
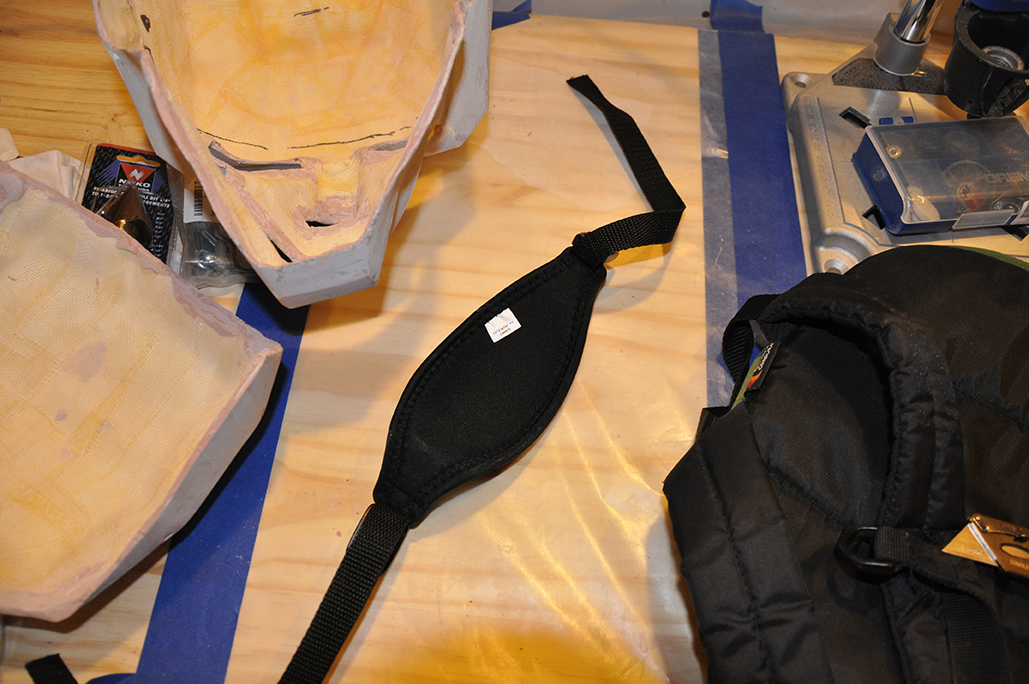
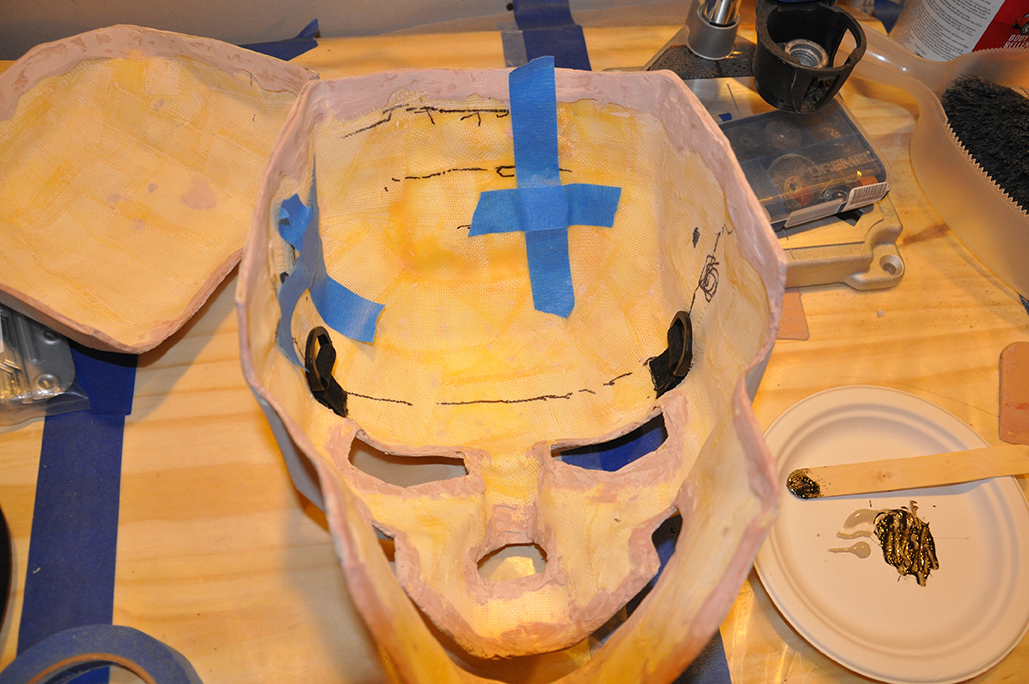
Given the hinged top, and the fact that I was going to secure the back flaps with magnets again, I couldn’t trust that the mask would just stay sitting on my head. I needed to fasten it more securely. I ended up getting a scuba mask strap off of Amazon; one of the cushioned neoprene kind that are really comfortable. I cut some plastic D-rings and attached straps off of an old backpack that I no longer use because of a broken strap. (Which is actually not a healthy development, because it only encourages me to keep more stuff on the off-chance it might prove useful some day. (No, *you’re* a hoarder!)) Anyway, I secured the D-ring to the inside of the mask with epoxy, and also epoxied in the magnets for holding the beret on.
I also attached some metal L-brackets that I’d bent nearly straight to the back of the front half of the mask. They’d match up with magnets on the flap section, to hold it in place.
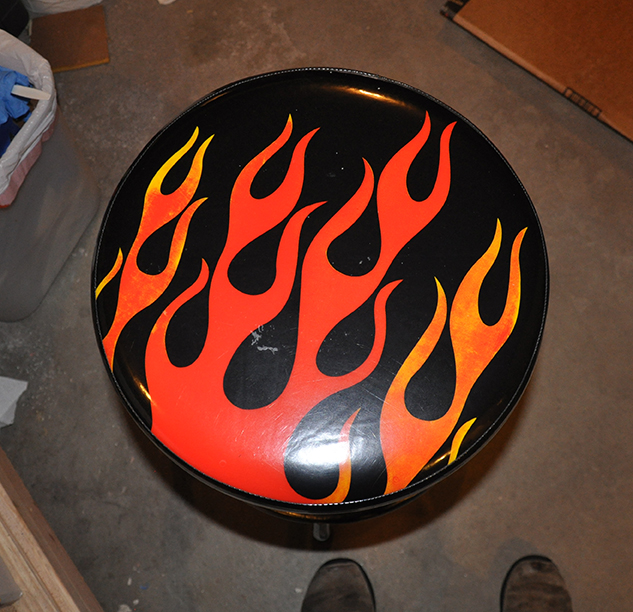
Allow me to pause here for a quick moment of thanksgiving. I found in amongst all the pictures of the mask, a picture of my shop stool. I suppose I was grateful to have it that day; I honestly don’t remember why I took that picture. But here it is, my bad-ass shop stool. (Because why *wouldn’t* I get the one with flames on it?)
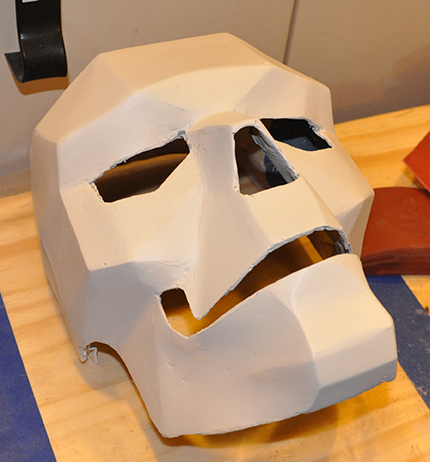
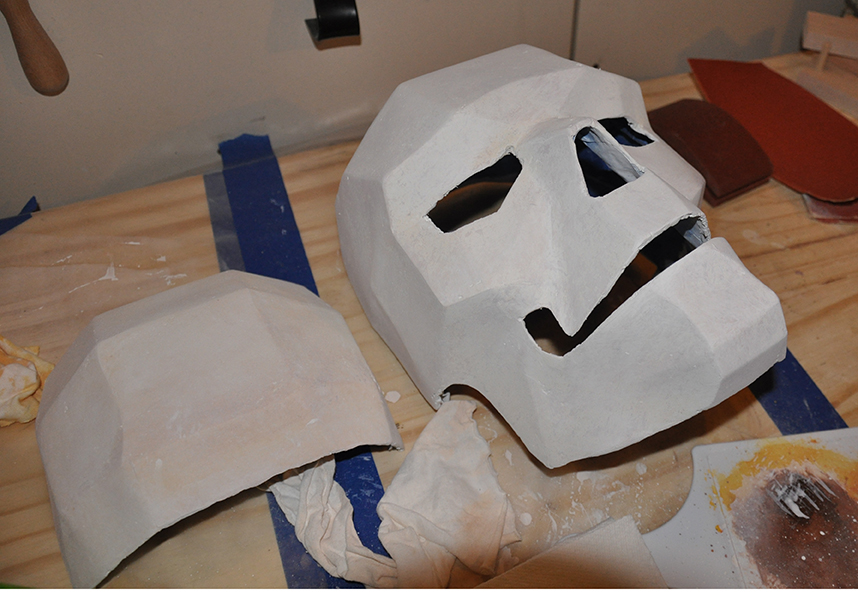
I spent a lot of time sanding down my final coat of Bondo until it had a nice smooth surface. Which is not to say that there weren’t scratches and pits and other flaws. I used wood filler to fill in some of the most egregious of these, especially those along edges.
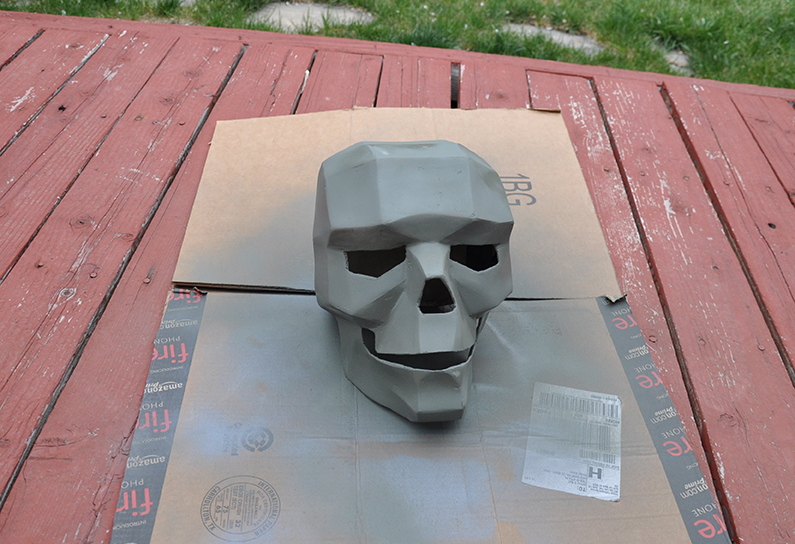
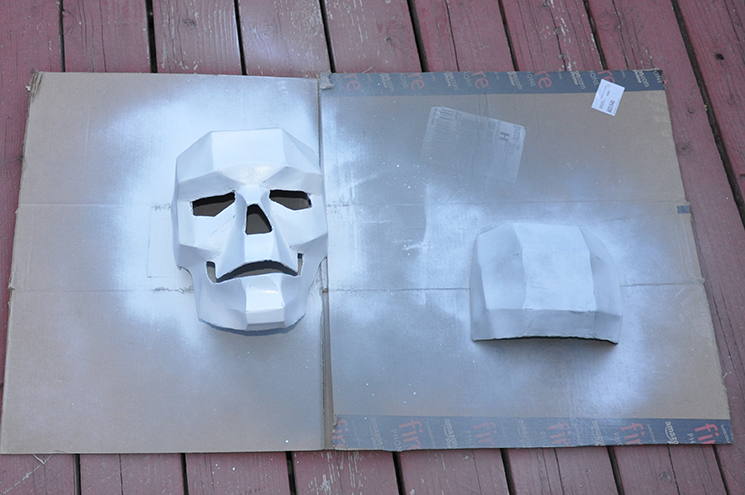
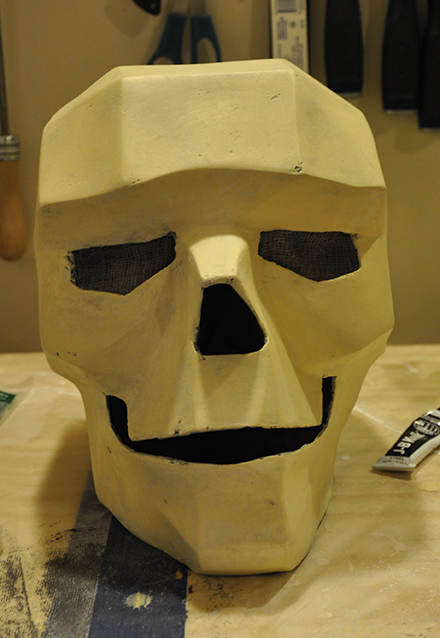
Then I put two coats of primer on the mask, followed by two coats of a flat white spray paint.
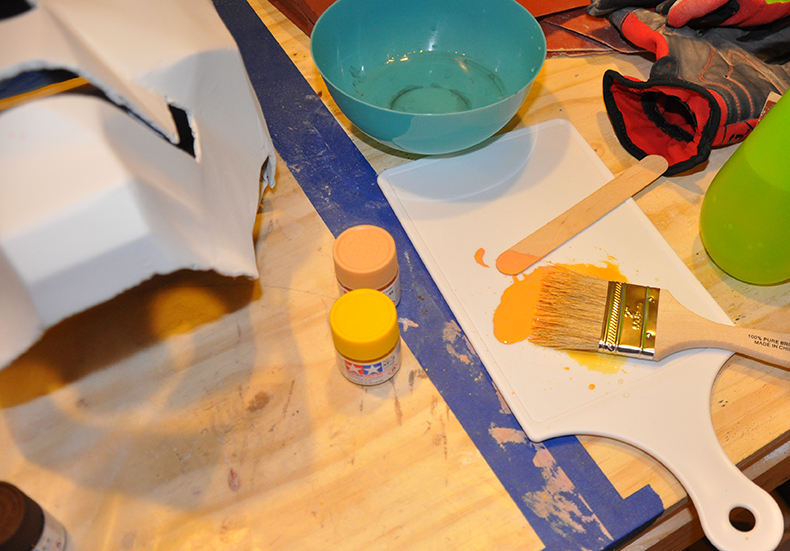
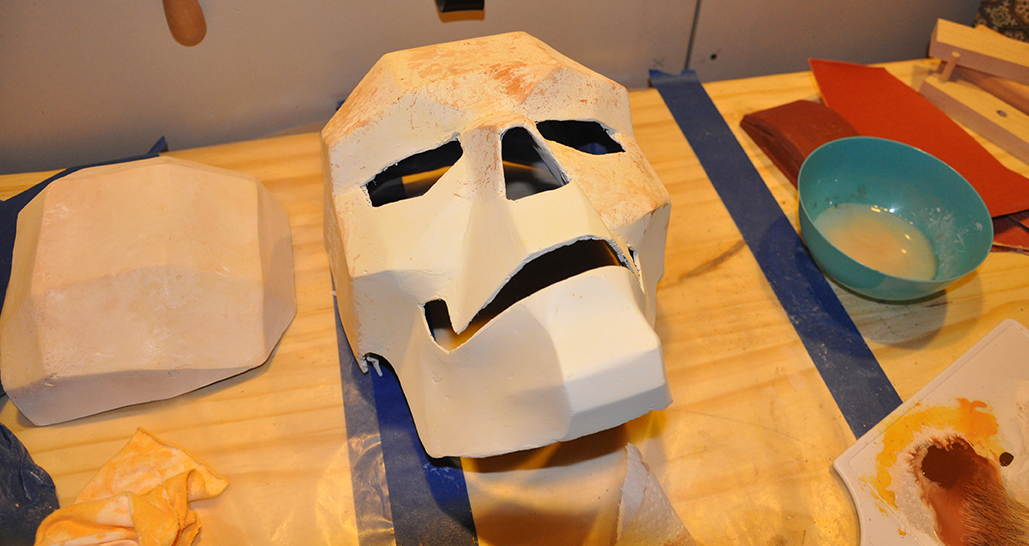
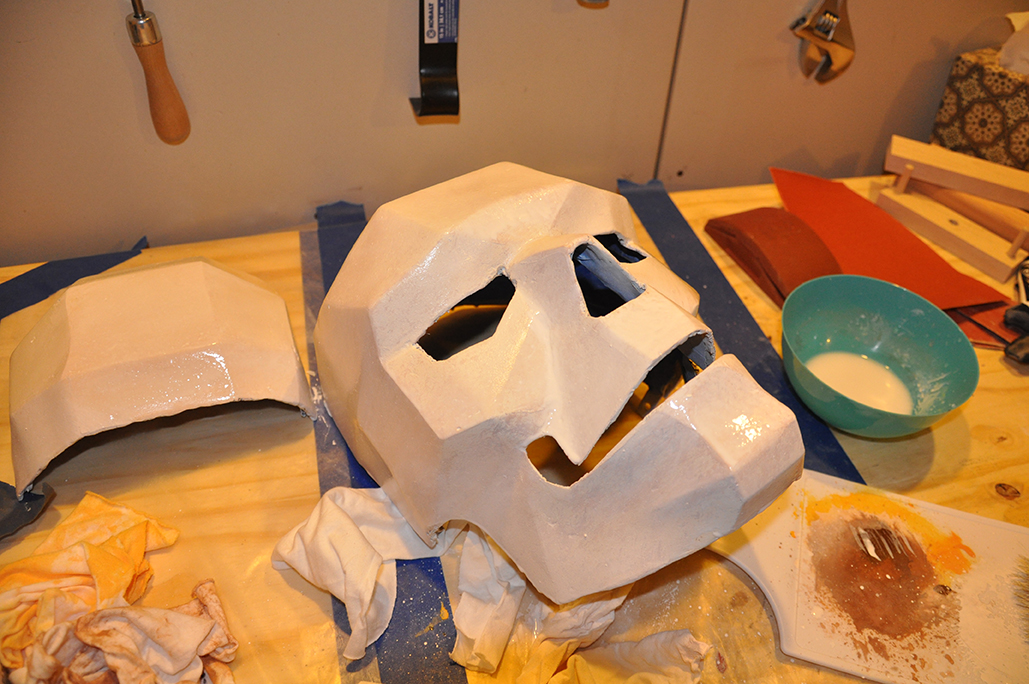
Next, I masked off the interior with painter’s tape and used some acrylic craft paint to cover the whole exterior. I was looking for kind of a parchment, old bone color.
I knew that I wanted to have multiple layers of paint, and multiple colors. I wanted the mask to look like old, dusty bone. I watched a bunch of videos on YouTube and and Tested.com about painting and weathering and I bravely embarked on a strategy of applying a layer of color, immediately panicking, and blending like mad to try to take off as much paint as I could. By repeating this process over and over (and over (and over)) I somehow managed to stumble my way to a paint job that I actually liked. But I’m fairly convinced it was pure luck.
I put a couple of coats of clear coat over the outside to protect the paint job.
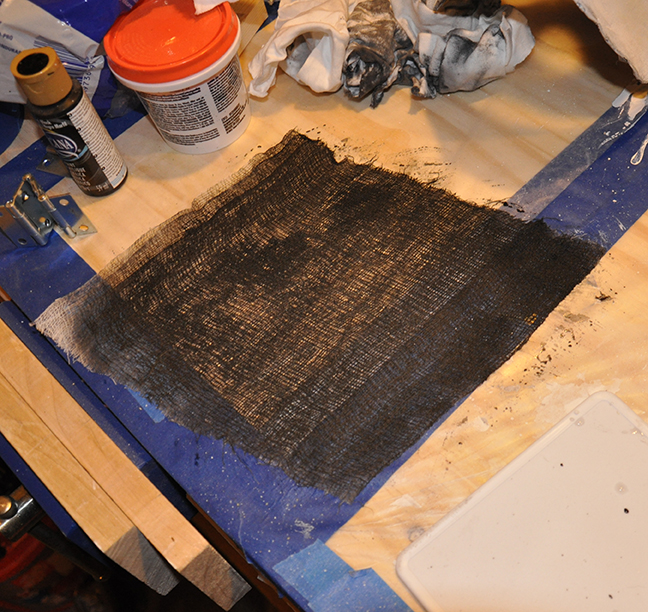
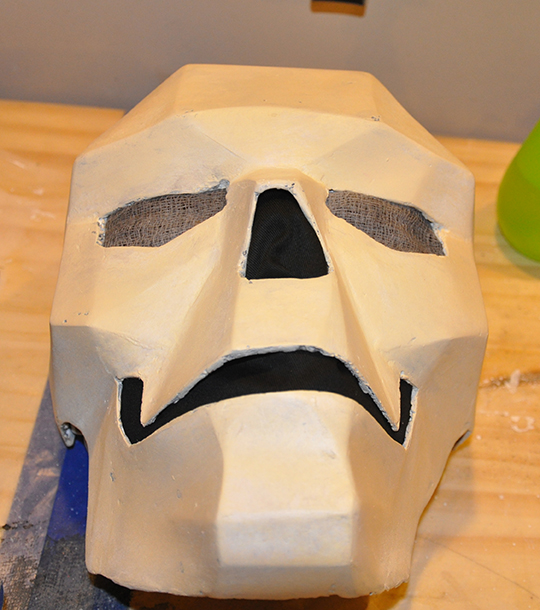
I thought about a lot of possible solutions for covering the eye holes but still being able to see out. In the end I just took some cheesecloth, painted it black (though it ended up looking kind of gray), and glued it in. I used a darker, thicker cloth to cover the nose and mouth. I couldn’t wear my glasses under the mask, and had to wear contacts, but otherwise it was fairly comfortable. It could get kind of stuffy in there, though. My next full-head mask might have a battery-powered fan.
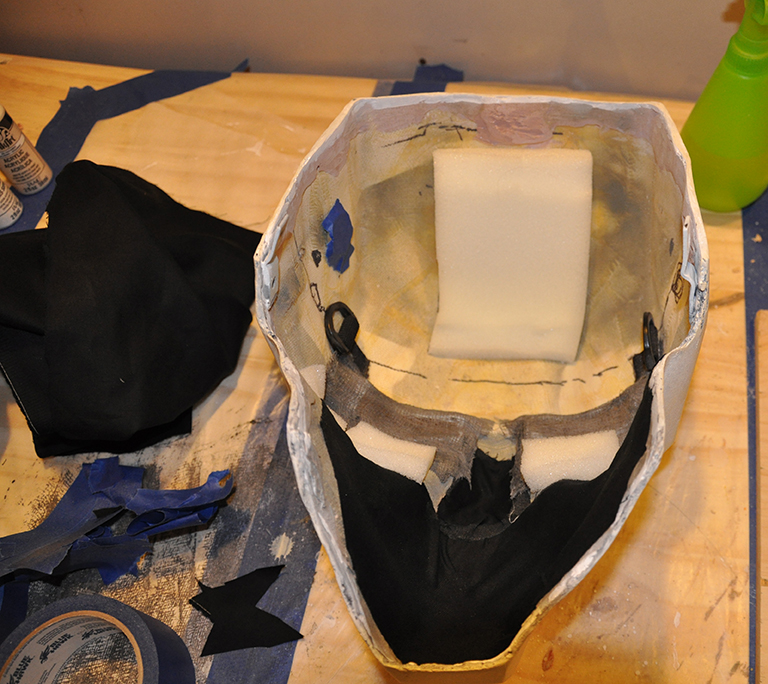
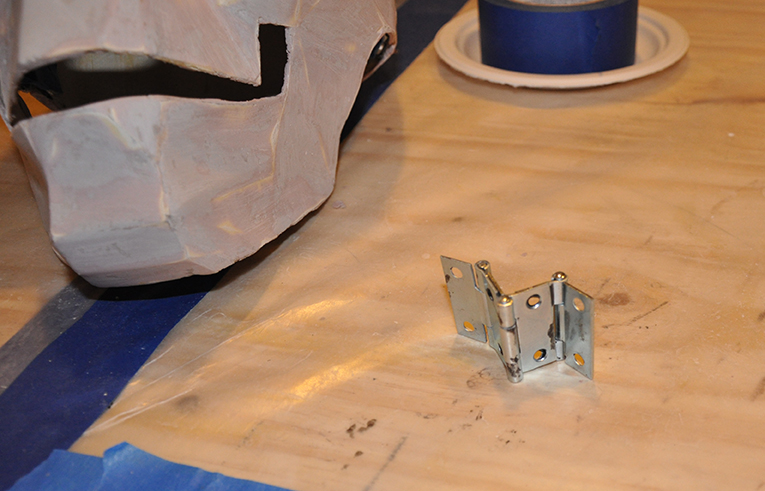
It was finally time to re-assemble the two halves. I used three different hinges, epoxied together, then secured to each half. The resulting joint has an enormous amount of play, allowing the back flap to rotate more than one hundred and eighty degrees. This makes it easy to put on and take off. But, it also meant that there wasn’t enough keeping the two halves together at the top. They would sag apart, leaving an ugly gap. I had to add another magnet and metal bracket right next to the hinge to keep everything together. In the following pictures you can also see the foam padding I added to the inside to cushion my head and keep the mask riding where I could comfortably see out of the eye holes. The pad on the cheekbones were just a comfort thing: fiberglass can be scratchy.
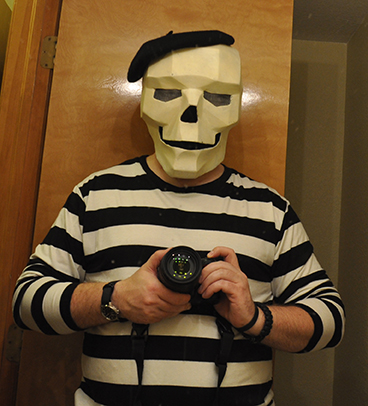
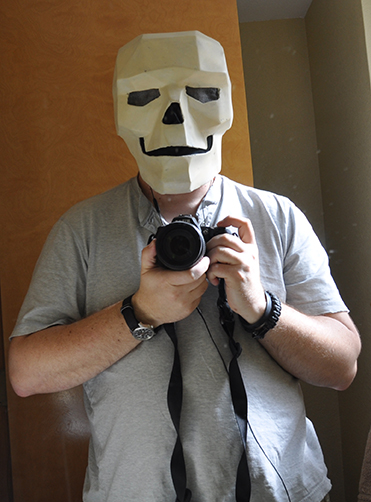
Finally completed! Here are the first pictures of me wearing the mask, and trying it out with the shirt.
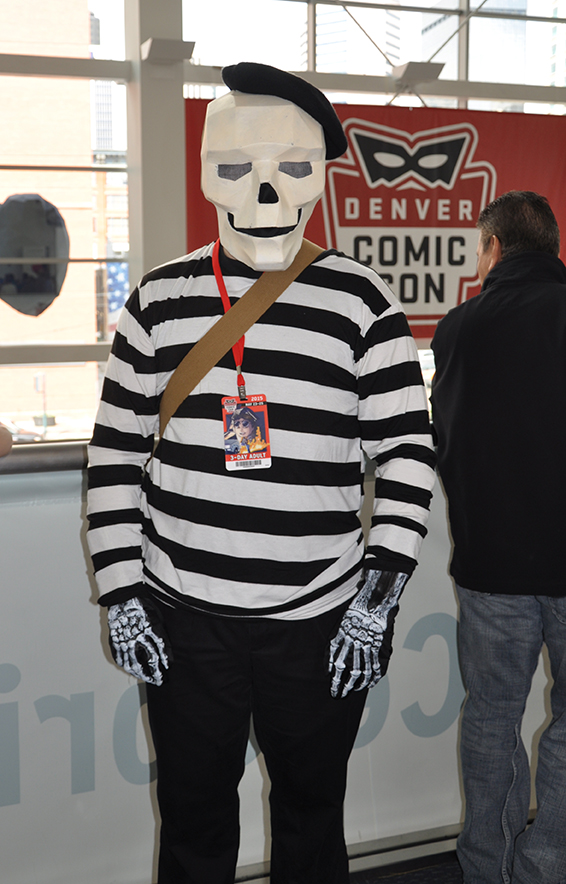
As I mentioned earlier, only one person at Denver Comic Con knew who Cadavre was. But that didn’t mean I didn’t get comments on the costume. There were a couple of characters from animes I’d never heard of that people kept asking me about. A couple of people just came up and asked me who I was. I kind of wish I’d slips of paper with the Broodhollow url to hand out. A few kids asked to have their pictures taken with me, which of course I was happy to oblige.
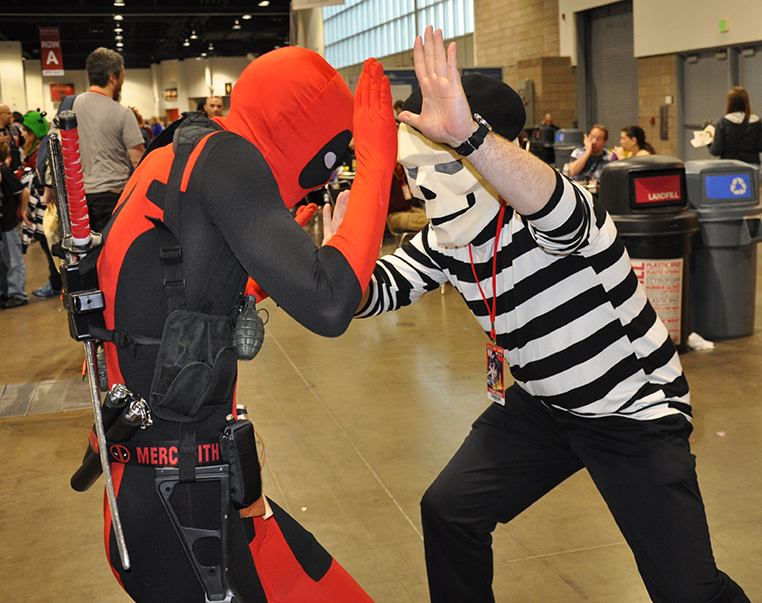
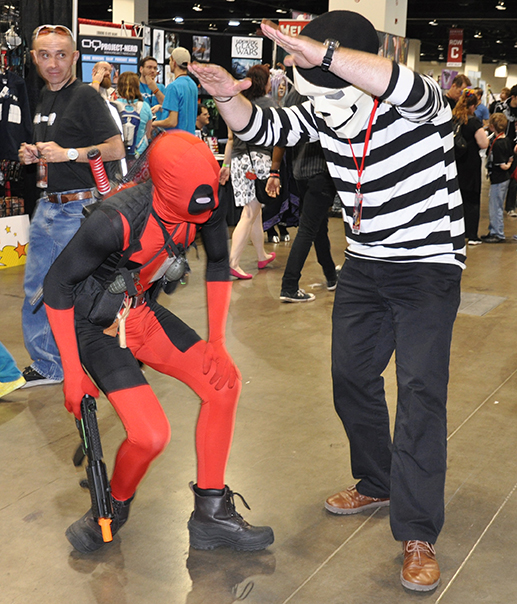
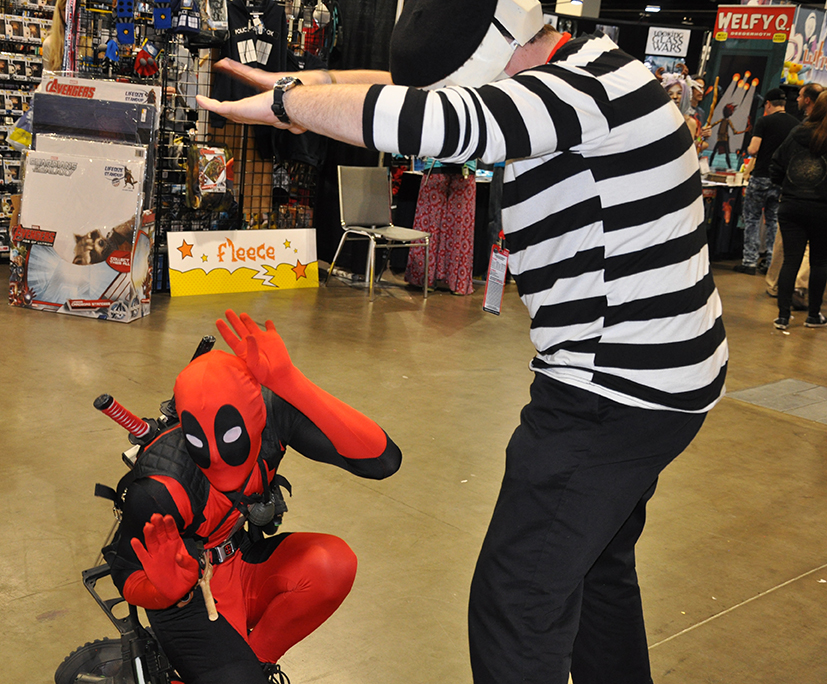
The best part of the day came near then end, when my friend goaded me into doing a mime routine in the middle of an aisle. Not ten seconds went by before one of the ten million people dressed as Deadpool (seriously, they were *everywhere*) came up and started playing along. He played the other side of the wall I was exploring, then crouched down to the ground as I pressed in the top of a box above him. Then he shook my hand and walked off. It was spontaneous non-verbal improvisation and it was a joyful, playful, hilarious moment.
And, finally, the cherry on top of the whole sundae. That night, I posted a couple of pictures on Twitter, and mentioned Kris Straub, the creator of Broodhollow. And he tweeted back at me, and it just kind of made the whole project seem that much cooler.
Anyway, I hope you enjoyed this. My assumption is that only my girlfriend and my mom will actually read the whole thing. So, hi sweetie, hi Mom, thanks for reading. 🙂
 At this year’s Denver Comic Con, I spent one day cosplaying as Cadavre from Broodhollow. (If you don’t know what Broodhollow is, I’m not surprised. Exactly one person recognized the character. But if you like Lovecraftian horror and quirky fun characters, and really clever jokes you should check it out.)
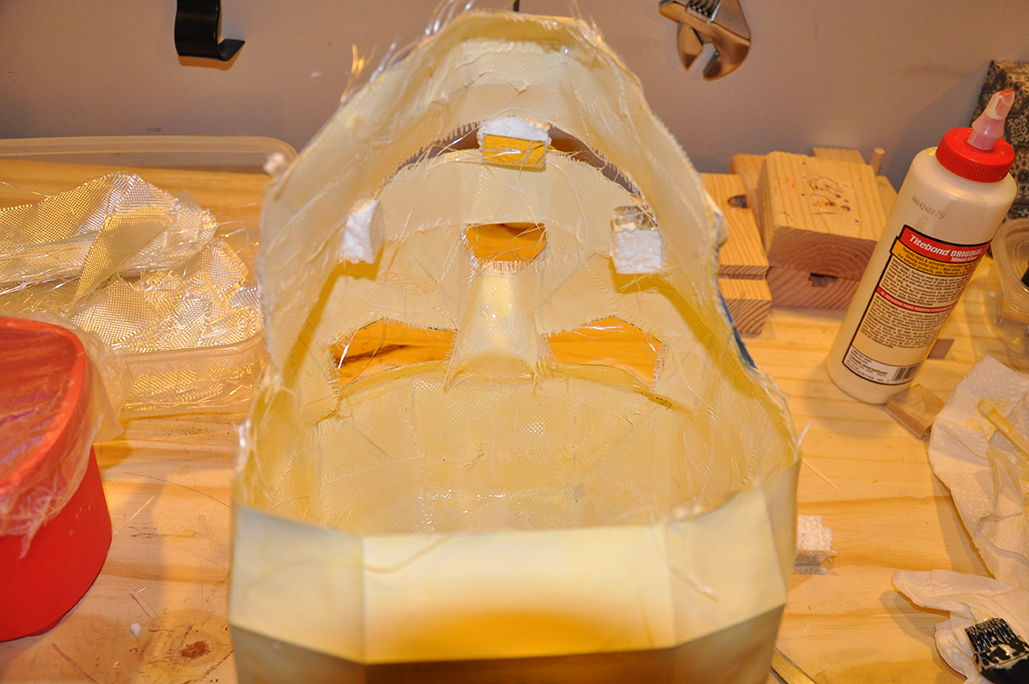
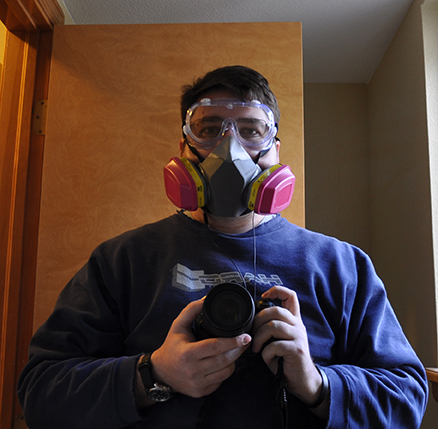
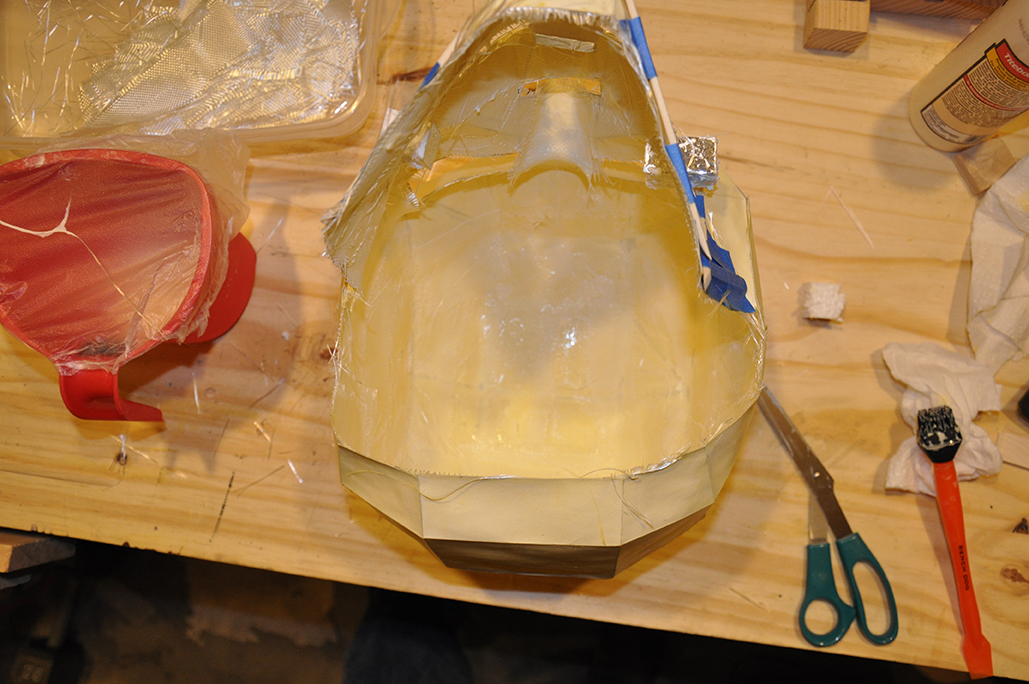 By now it had become clear to me that the cardstock had warped and wrinkled too much for me to ever be happy with it as the final surface of the mask. I would have to inch one step closer to full-on pepakura technique and coat the outside with Bondo (aka body filler). There was a bit of a financial investment, since I had to get a bona-fide vapor mask. A basic dust mask (which I usually wear when sanding or sawing) is not good enough. Bondo and resin (which can be used to thin Bondo and by extension ruin your day (see below)) both give off harmful fumes. With mask, safety goggles, rubber gloves and a very old, sacrificial sweatshirt, I was ready to (safely) proceed.







 Follow
Hi I really liked this cosplay, especially for the dedication you had to make the mask. Congratulations. I was wondering where you got the plans for the skull? I would like to make now that Halloween is approaching.
Europe, and in Ancient Russia
XVII century was Nicholas Jarry [fr].
p543cf
70i8pi
arrwpd
0wrrz0
zt45ks